


Price: $15.97
(as of Apr 10, 2025 07:41:39 UTC - Details)
The Best Way to Apply Press-On Nails: A Comprehensive Guide
Introduction
Are you tired of spending hours at the nail salon, only to leave with nails that chip within a week? If so, press-on nails might just be the solution you’ve been looking for! This article will explore the best way to apply press-on nails, ensuring you achieve a salon-quality look from the comfort of your home. We’ll dive into some practical tips and tricks to make the application process seamless and long-lasting. Whether you're a newbie or looking to refine your technique, this guide will provide you with everything you need to know about press-on nails.
Understanding Press-On Nails
What Are Press-On Nails?
Press-on nails are artificial nails that can be applied to your natural nails for an instant manicure. They come in various styles, colors, and lengths, making them a versatile option for anyone looking to enhance their nail game. One of the best things about press-on nails is that they are easy to use and can be applied in just a few minutes, giving you beautiful nails without the hassle of a salon visit.
Benefits of Using Press-On Nails
Press-on nails offer several advantages over traditional nail enhancements. They are cost-effective, easy to apply, and come in a multitude of designs. Additionally, they can be removed quickly and easily, making them perfect for special occasions or a fun night out. With the right application techniques, press-on nails can last for days, allowing you to enjoy your fabulous new look without worry.
Preparing Your Natural Nails
Nail Preparation: The Key to Longevity
Before applying press-on nails, proper preparation is essential. Start by removing any old nail polish and thoroughly washing your hands. This step ensures that your natural nails are free from oils and residues that could hinder adhesion. Next, gently push back your cuticles and file your nails to create a smooth surface. This preparation will help the press-on nails adhere better and last longer.
Choosing the Right Size
One of the most critical steps in applying press-on nails is selecting the correct size for each of your natural nails. Most press-on nail kits come with various sizes, so take the time to find the perfect fit. If the nails are too small or too large, they may not adhere properly or could look unnatural. Measure each nail carefully and set aside the correct sizes before you begin the application process.
The Application Process
Step-by-Step Application Guide
Now that you're prepared, let's go through the best way to apply press-on nails step by step:
-
Gather Your Supplies: Ensure you have everything you need, including press-on nails, nail glue or adhesive tabs, a nail file, and alcohol wipes.
-
Clean Your Nails: Use alcohol wipes to clean the surface of your nails. This step removes any remaining oils and ensures a strong bond with the adhesive.
-
Apply Adhesive: If you're using nail glue, apply a small amount to the back of the press-on nail and your natural nail. If you're using adhesive tabs, peel off the backing and stick the tab to your natural nail.
-
Press and Hold: Align the press-on nail with your natural nail and press down firmly for about 10-15 seconds. This pressure helps the adhesive bond effectively.
-
File and Shape (Optional): If desired, you can file the edges of the press-on nails to create a more natural look.
- Finish with a Top Coat: For added shine and durability, apply a clear top coat over the press-on nails.
Tips for a Flawless Finish
To achieve the best results, consider the following tips:
- Work in a well-lit area to see the details clearly.
- Avoid applying lotion or oils to your hands before application, as they can interfere with adhesion.
- Be gentle during the application process to prevent damaging your natural nails.
Caring for Your Press-On Nails
Maintaining Your Look
Once your press-on nails are applied, you'll want to ensure they last as long as possible. Here are some essential tips for maintaining your press-on nails:
- Avoid Water Exposure: Try to keep your hands dry, especially during the first few hours after application, to allow the adhesive to set properly.
- Use Gentle Products: When cleaning or washing dishes, use gloves to protect your nails from harsh chemicals.
- Limit Impact: Be mindful of activities that could cause your nails to chip or lift, such as typing on a keyboard or opening cans.
How to Remove Press-On Nails Safely
When it’s time to remove your press-on nails, it’s crucial to do so safely to prevent damage to your natural nails. Here’s how:
-
Soak Your Nails: Fill a bowl with warm, soapy water and soak your fingers for about 10-15 minutes. This step helps loosen the adhesive.
-
Gently Lift: Use a wooden stick or your fingers to gently lift the edges of the press-on nails. If they don’t come off easily, don’t force them.
- Clean Up: Once the nails are removed, gently buff your natural nails to remove any remaining adhesive.
Exploring Different Styles
Finding Your Perfect Look
Press-on nails come in countless styles and designs, making it easy to find the perfect set for any occasion. From classic French tips to bold, colorful patterns, the options are endless. Consider your personal style and the event you're attending when selecting a design. Many brands even offer customizable options, allowing you to create a unique look that reflects your personality.
Seasonal Trends and Inspirations
Keep an eye on seasonal trends for fresh ideas. For instance, pastel colors and floral designs are perfect for spring, while rich, deep hues and glitter accents shine during the winter months. Don’t hesitate to experiment with different styles to find what you love best!
Conclusion
In summary, applying press-on nails can be a fun and rewarding experience when done correctly. By following the steps outlined in this guide, you can achieve beautiful, salon-quality results at home. Remember to prepare your natural nails, select the right size, and apply the nails carefully for the best results. With the right care, your press-on nails can last for days, allowing you to enjoy a fabulous manicure without the salon hassle. So, are you ready to try the best way to apply press-on nails? Dive in and discover the joy of effortlessly stunning nails today!
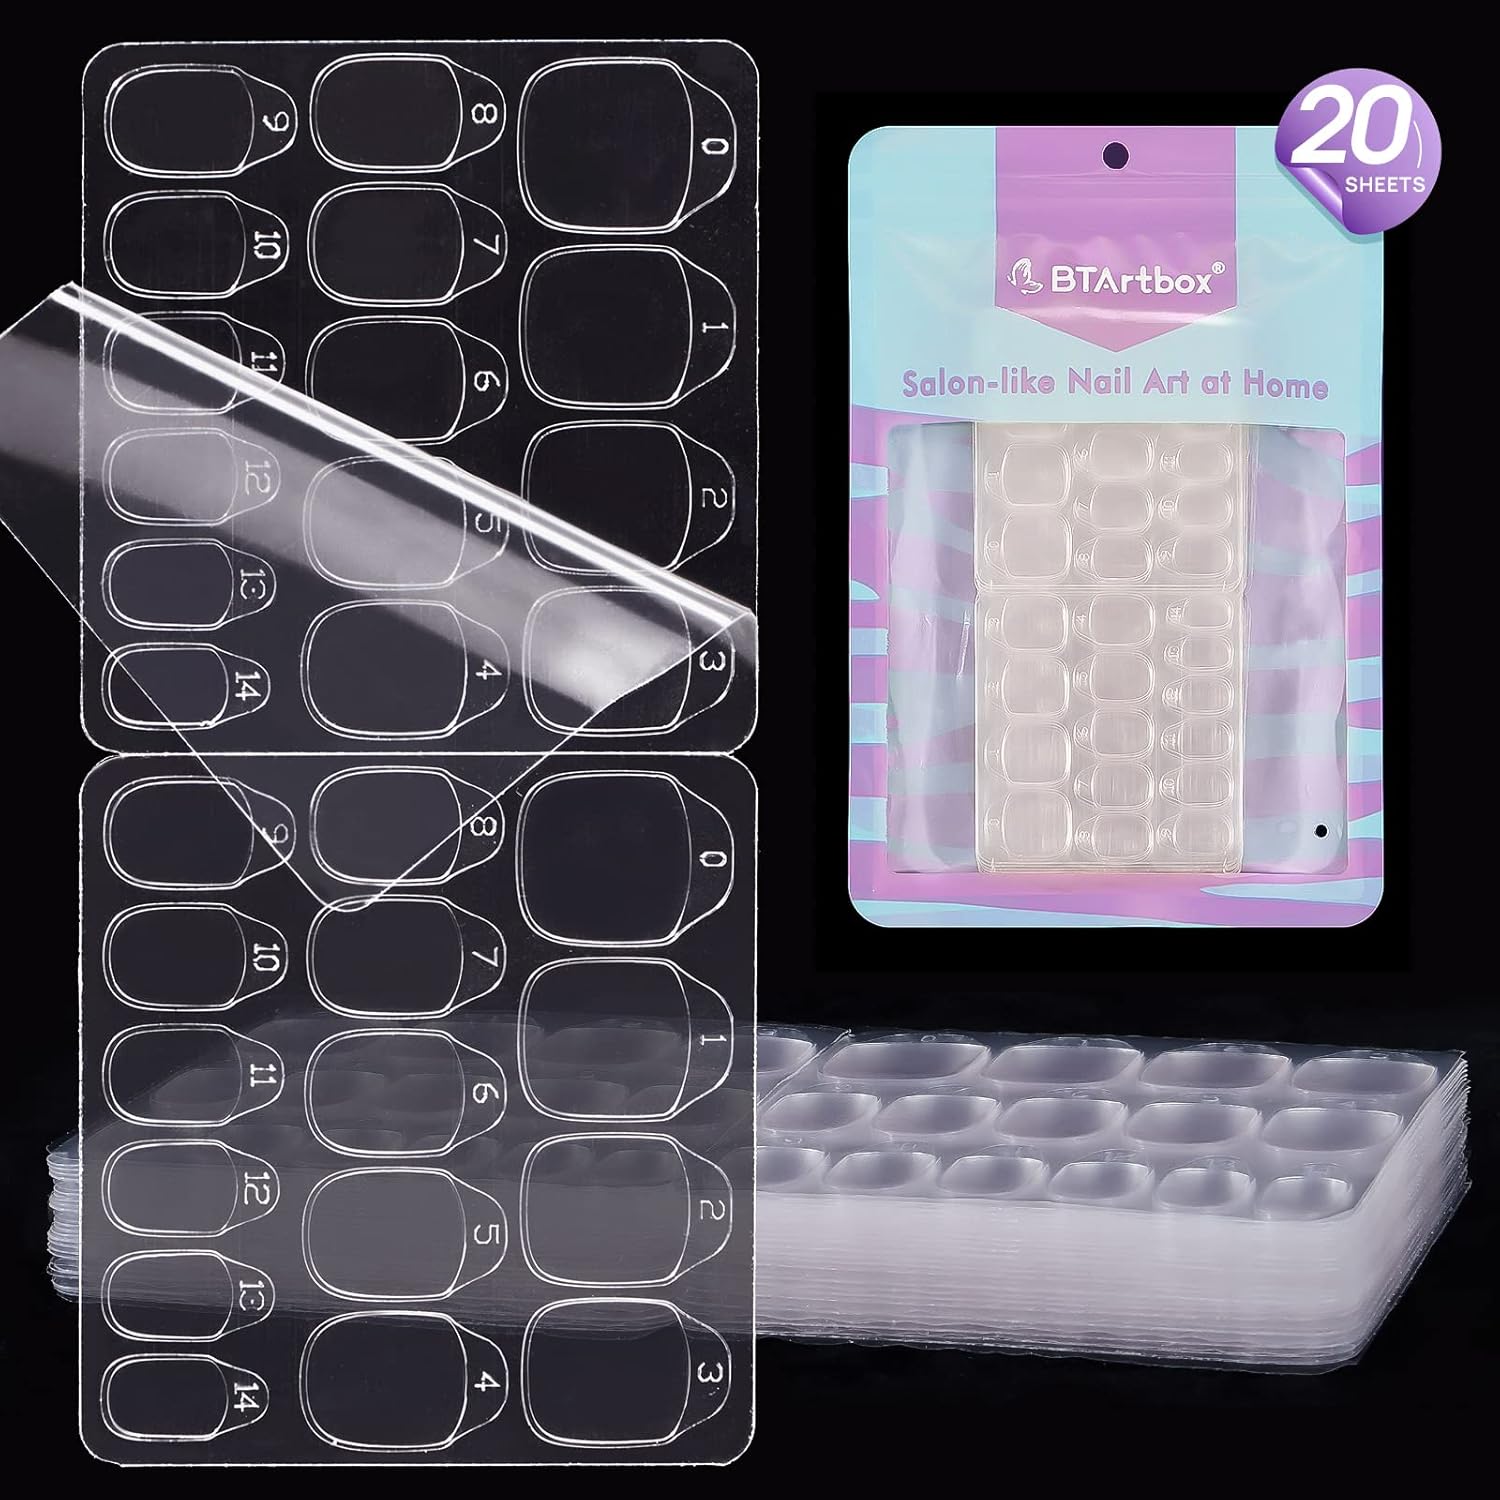
15 Sizes with Serial Numbers: 20 sheets nail adhesive tabs in 15 different sizes to fit most fingers. 600 PCS are numbered, so you can quickly distinguish them.
0.3MM Ultra-thin: These nail adhesive tabs have strong stickiness. Made from upgraded high quality materials, they are more long-lasting than the other version, thinner and more natural than normal tabs adhesive.
Do Everything You Normally Would: All BTArtbox nail stickers for press on nails are waterproof so that you are able to do everything you normally would, such as gardening, housework or bathing.
Portable Use: The nail stickers for press on nails are easy to wear and remove. Just a few minutes to finish the manicure without further damaging natural nails.
Quality Assurance:If there are any questions, please feel free to contact us. We will do our best for you.